Thursday, August 29, 2019

#8 Lavinia World Challenge


Time for a new challenge over at Lavinia World Challenge. 

For you to inspire I have a card that I am actually pretty proud of :)
For my card I used the Aurora stamp, which is absolutely gorgeous.

The card is actually pretty simple to make.

Card recipe:
1. Cut the 2 opening panels using a die I have had in my stash, I bought it from someone that was decluttering her craft room :) - the card base is white card stock of 300 gsm.
2. The inside panel is made with Distress Oxide blending technique. I just played with some shades.
3. Stamped the fairy with Archival Ink and then added some Aqua Shimmer from Spectrum Noir and some gems on her wings.
4. Die cut the sentiment which is from Tonic Studios kit, added it to the front panel and ta da! This is it. 

Hope you will enjoy it ....


Now it is your turn!!!

Enter your project and win a $15 gift certificate to use it on a shopping spree Lavinia Worldand a challenge badge :) 

How can you do this? Sooo easy:
- In your project - use any type of rubber or clear stamps, using Lavinia stamps is not a must but there are more advantages - using them your chances of winning are doubled
- Digi stamps are not allowed :(
- THE THEME IS ALWAYS "ANYTHING GOES"
-It is a bi-weekly challenge starting on every other Thursday

If you need inspiration and not only make sure you follow us on:


Disclaimer:
Please note that although we carry the full Lavinia range, we are not part of any other entity or Facebook group that carries Lavinia stamps. ONLY the cards posted to Lavinia World Challenges will be entered into the drawing for the Lavinia World prize. 
Also note that the gift certificates are ONLY valid at the Lavinia World website. https://laviniaworldchallenges.blogspot.com/


We can't wait to see your creations!!


Tuesday, August 27, 2019

With Love - PolkaDot Orchard DT project


Hello my dear friends,
For you today I have a project I made using a stamp from dare 2b artzy , stamp which was donated by them for the fundraiser Polkadot Orchard organised. You can find it only until Friday - 30th August - here.

My card is pretty easy to make.

Card recipe:
1. Base panel - 220 gsm white card stock on which I played with Distress Oxides to get the rainbow effect.
2. Printed, cut and coloured the cute doggy stamp using Deco Craft coloured pencils
3. Cut and assembled the sentiment which means With Love in Romanian 
4. Assembled and glued all the elements and added some glossy accents as final touches :)

And this is it! 
Hope you will enjoy my project.
Until next time, stay safe and be creative! xoxo


Wednesday, August 21, 2019

Scrapy Land Challenge #120

I think that you do not need a special day to thank a special teacher :)
So, for you today I have a lovely card I made as a thank you for a teacher. And because it is the third Wednesday of the month it is also time for a new Challenge over at Scrapy Land


Card Recipe:

1. Card base - 300gsm white card stock - plied dimension 10.5 x 14.5 cm

2. Base panel - a piece of purple card stock - 200 gsm

3. I used a cutting die fro Tonic Kit #21 to get the lovely pattern - if you don't have it, you can use any other pattern die

4. Cut the notebook page on which I added the deco elements.

5. Stamp, color and cut the lovely owls from Lawn Fawn - So Owlsome. To color them I used Deco Craft colored pencils

6. I die cut 2 speech bubbles - you can choose from a wide variety here. On the bubbles I stamped the sentiment from the owl set and colored them using Distress Oxides

7. Final touches - a few glossy accents here and there and ta DAAA!

Hope you will enjoy it and give it a try and ... see info below ;)


The theme is always ANYTHING GOES using any brand of die that Scrapy Land sells.   

 There will be ONE winner and they will receive a
$15 Gift Certificate
to go shopping at Scrapy Land!!

The winner will be chosen by random.org and the Designers will still chose the Top Three and the Honorable Mentions. 

Scrapy Land carries over 55 brands of dies, so chances are you have a few of the brands in your stash!  You can see all the brands carried under the Products category.

Please link back to this Scrapy Land Challenge and include the link to this challenge on your blog post.  It would also be extremely helpful if you would list the brands of dies used in your project.  (Sometimes we can't tell if an item is a die cut or chipboard.)


We can't wait to see what you create!  It can be any style you like from CAS to mixed media and everything in between. Just be sure there's a die cut from a brand that Scrapy Land sells.


take care and happy crafting until next time :)


Tuesday, August 20, 2019

PolkaDot Orchard project - Thank you card


Good day, my dear friends!

It is always fantastic to have a reason to thank you for something or someone in our lives. Being thankful is something that makes you a better person, I think and it is always good for the mind and soul :)
For you today I have a cute card I made using a fabulous digital stamp from PolkaDot Orchard.
The flower is from the Petals for the Pittmans set two  and it was designed by Jessica's daughter. Pretty amazing, right?

The card is pretty simple to do:

Card recipe:
1. Cut the base - 300 gsm white card stock
2. I covered the base with tissue paper and then distressed the edges 
3. Cut a smaller panel using a cutting die with edge pattern
4. Printed the stamp and using Derwent charcoal pens added some color spots here and there just to get a little vintage effect. 
5. Die cut the sentiment using mirror card stock
6. Final touches - added the 3 half pearls :)

And ta DAAAA!
This is it. Hope you will enjoy and give it a try.


Until next time, take care and have a crafty time :)
Huggies xoxo

Friday, August 16, 2019

Thinking of you - Polka Dot Orchard DT project

Hello, my dear ones

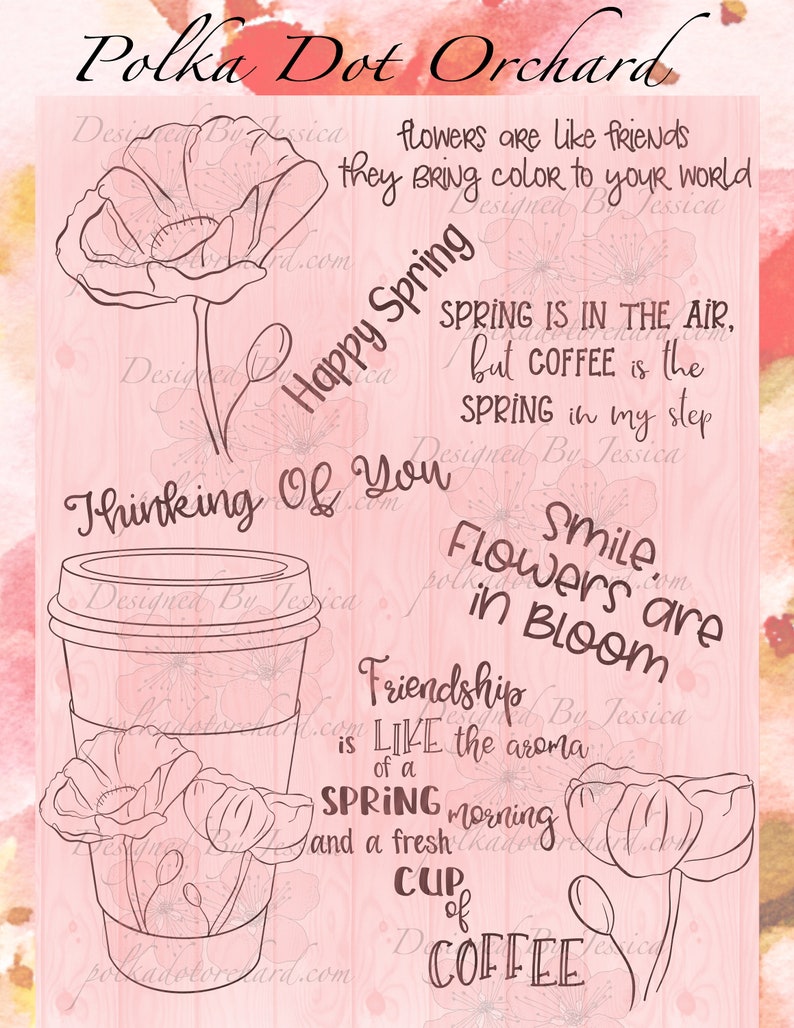
Today I have a very cute card I made using PolkaDot Orchard gorgeous flower from the Flowers in Bloom digi set.


It is not very hard to make it and it is perfect to give it to a special person :)

Supplies:
1. Card base - white card stock 300 gms, folded has 10.5 x 14,5 cm
2. Base panel - Bristol paper on which I blended Distress Oxides 
3. I cut the panel using a pattern die from Tonic Studios kit 21
4. Printed and cut the cut from the set, colored it using Promarkers and Copic markers
5. I adhered it to the card using double adhesive foam tape
6. Printed and die cut the sentiment and added to the card
7. Final touches, some Glossy accents and Nuvo Aqua Shimmer 

And this is it!
Hope you will enjoy it!

And see you next time :)Hugs


image 0

Thursday, August 15, 2019

Calendar card - Taylormadecard4u project


Lavinia World Challenge #7 - Christmas Card


Would you say there is still plenty of time to make all the Christmas cards? Well, I started earlier :) You know what they say, The early bird ... 
So because it is time for the second Lavinia World Challenge of this month, I made a simple and elegant card, using the Mary stamp from Lavinia 


No photo description available.

I used:

- a piece of white card stock of 29 x 10 cm which I folded in half to get the card base, 300/gsm white card stock
- the base panel is made out of 200 g white card stock on which I played with Distress Oxides and a stencil from my stash
- I die cut using a snow globe cutting die, a piece of velum on which I embossed the stamp using golden embossing powder - I absolutely looveee the result
- I glued the snow globe on the base panel and also added a purple ribbon bow
- I die cut the sentiment using a piece of red thick card stock and then added Glossy accents for some more effect

And this is it!
As I told you, it is a very beautiful stamp and you can used it is soo many projects!


Now it is your turn!!!

Enter your project and win a $15 gift certificate to use it on a shopping spree Lavinia Worldand a challenge badge :) 

How can you do this? Sooo easy:
- In your project - use any type of rubber or clear stamps, using Lavinia stamps is not a must but there are more advantages - using them your chances of winning are doubled
- Digi stamps are not allowed :(
- THE THEME IS ALWAYS "ANYTHING GOES"
-It is a bi-weekly challenge starting on every other Thursday

If you need inspiration and not only make sure you follow us on:


Disclaimer:
Please note that although we carry the full Lavinia range, we are not part of any other entity or Facebook group that carries Lavinia stamps. ONLY the cards posted to Lavinia World Challenges will be entered into the drawing for the Lavinia World prize. 
Also note that the gift certificates are ONLY valid at the Lavinia World website. https://laviniaworldchallenges.blogspot.com/

We can't wait to see your creations!!


Wednesday, August 7, 2019

Challenge #119 - Scrapy Land DT


First Wednesday of the month? Well my friends, it is time for a new challenge over at Scrapy Land!
It looks like I am starting to get the hang of masculine cards :))) or not. 


For you today I have a very simple card, which I think is perfect for a man. It is a birthday card but you can transform it any other way.

For my project I used 

Amy Design - Dies - Daily Transport - Brick Wall


The car is from a stamp set I got long time ago, but you can use the one from Lawn Fawn and any Balloons cutting die that you find here.
The sentiment is from Tonic Studios, but you can also use any other cutting die from here.

I cut the card base from white card stock - 300 gsm, 14 x14 cm. I glued the brick wall after I cut it out of blue card stock.
This cutting die is just adorable and so versatile. 
I stamped, cut and coloured the car. I used Promarkers. Added glossy accents for the windows and 2 yellow gems for the lights. Also, stamped, cut and coloured the balloons. I glued them using double side adhesive tape for some dimension. For the car I used a wobble, just for fun. :)
Stamped and cut the sentiment and added it to the card.

This is the final result. Hope you like it.

And now it is your turn.


For the Scrapy Land challenges the theme is always ANYTHING GOES. 

All you have to do is to use for your project at least one brand of die that you can shop over at Scrapy Land.  
There is one WINNER, randomly chosen, the winner will receive a generous $15 gift certificate to Scrapy Land.


Please link back to this Scrapy Land Challenge and include the link to this challenge on your blog post.  It would also be extremely helpful if you would list the brands of dies used in your project.  

We cannot wait to see what you create! 

Until next time, stay safe and take care :

Sunday, August 4, 2019

Merry Christmas card - Polka Dot Orchard DT project

Hello, hello
Time for a new project! 
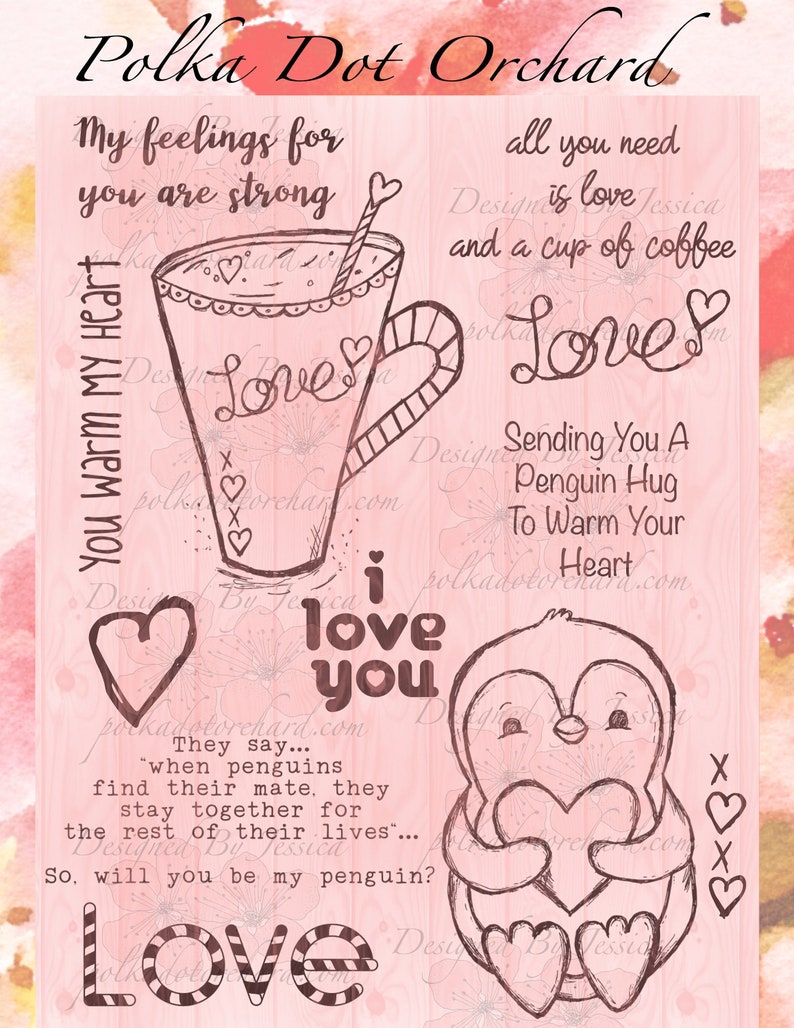
Today is time for a lovely card I made using PolkaDot Orchard digi stamp set - Penguin Love - Digi Set

It is sooo easy to make such a card! You only need a few supplies and just let your imagination fly, fly away!


What I used:
- a piece of card stock for the base
- a 10x14 watercolor paper on which i played with some Gelatos and a water brush to obtain the background. I also splashed some Perfect Pearls  to get some sparkle, 
- printed, cut and coloured with Polychromos pencils, added the glossy accents
- stamped the sentiment and the small leaves - both elements from Tonic Kit #23
- On the leaves I added 2 dots of red Sprinkles


And this is it!
Isn't it cute? 
Hope I inspired you to make one and also visit Jessica's shop where you can find this set and mannnyyyy mannyyy more!


Until next time, stay safe and take care!

P.S. stay tuned, gorgeous projects are on the way :)


image 0

I am entering my project to

Wk 31 - Anything Goes Craft Challenge at Polkadoodles


Back to School - Angie's Digital Stamps


My dear friends, it is time for a new challenge over at Angie's Digital Stamps :)


This month the optional twist is Back to School , so feel free to use your imagination and enter your project :)
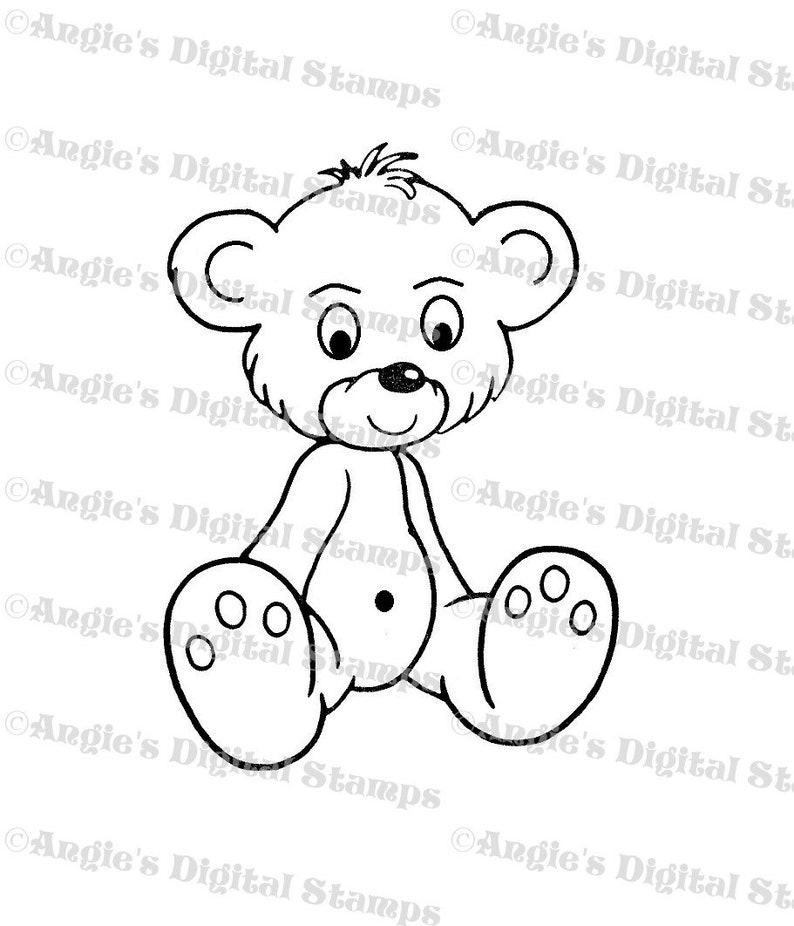
I used the cute Teddy Bear Stamp.
image 0


Steps in creating my card:

1. Cut the card base out of white card stock of 300gs/sqm.

2. Cut a panel out of Bristol smooth paper on which I heat embossed some apples and then played with Peacock feathers Distress Oxide.

3. Die cut the notebook page, the letters for 'notes' and the paper clip.
4. Printed and coloured the Teddy Bear, the pencil and the globe. 
5. Glued and assembled everything together.

And this is it!

Make sure you check out Angie's blog and her Etsy Shop. Also, you can enter a project and have the chance of winning great prizes.

Until next time, stay safe and take care and be creative!


Cute digi stamps can be found on Angie's etsy store