Sunday, June 30, 2019

Snail mail - PolkaDot Orchard DT project

Hello, my lovelies :)
Quick card for you today. I am sending love messages to all my craft friends and not only.
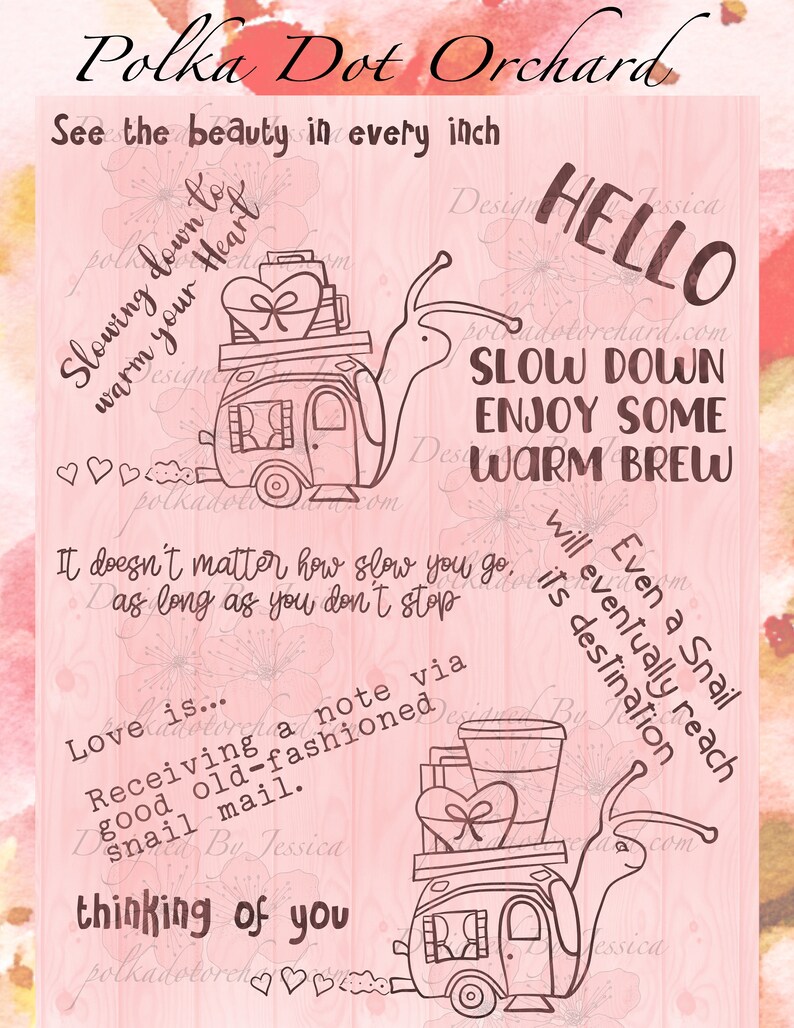
This cutie is made using gorgeous digis from Polkadot Orchard.

For this one I used the lovely snail from the Camper Snail set


It is a very simple card to make.
Supplies:
- pattern paper
- a strip of embossed card
- the snail stamp colored with Deco Craft colored pencils
- a goggly eye
- some foamy hearts
- glossy accents :)


East peasy! 
Colored the snail, glued everything together and ta da! I chose to put no sentiment because you can use this card for more than one occasion so you can add your message inside! 

Huggies and stay safe!
Until next time, take care and be creative!


P.S. Check out Jessica's Etsy shop! AMAZIINNGGGGG!


image 0

Pretty Shoes card - Goha Digital Stamp


Hello my lovelies,
I have a new project for you today, using this gorgeous digi stamp from Goha Digital Stamps.
I decide to make a girly card. This is suitable for many occasions, for a new baby, for a birthday or even a baptism. Your choice :)

I used patterned paper asa background panel, a banner die cut and the pair of pretty shoes which I colored using Deco Craft colored pencils. I added the ribbon and the butterfly brad. No sentiment because I did not think it was necessary :)

This is my card and really hope you will enjoy it!
Until next time, huggies :*


Friday, June 21, 2019

Be you, bravely - PolkaDot Orchard DT project


Hello my lovelies,
quick project for you today. I absolutely adore these coffee cups from PolkaDot Orchard. I cannot get enough of working with them. They are so versatile and beautiful to use on plenty of cards. The mug id from the Good Morning Spring set and the small flower is from Endless Potential.


What you need for such a card:


- 10.5 x 14.5 cm white card stock of 300 gms
- a 10x14 cm Bristol smooth paper panel on which I played Distress Oxide inks - Peacock Feathers and Wild Honey. Over the distress background I added an irregular shape with a glue pen on which I added green foil.
- the digi stamps  are printed and colored with Deco Craft pencils and Distress oxides
- the sentiment is from the Tim Holtz Idea-logy set
- as final touches I added some glossy accents


Really hope you will enjoy it and until next time, stay safe, take care and be creative!
Huggies all


P.S. Make sure you check out Jessica's digi sets, they are amazing!

Thursday, June 20, 2019

Lavinia World Challenge #3

Hello world!

Time does fly away quickly. Can you believe it is already time for Challenge #3 over at Lavinia World Challenge?
Today I have some inspiration using not1, not 2 but 3 stamps. It is soooo much fun to combine and make amazing scenes with these stamps. My card today uses


Arențt they just ADORRAAABBBLEEE? :)


Let me tell you what you need to create such a card:


- 10.5 x 14.5 cm white card stock - card base, 300 gms
- a piece of Yupo paper - 10x14 cm
- Alcohol Inks - Botanical and Cool Peri - I just added the inks and using the blending solution I created the background. It had actually turned out better than I was expecting.
- Embossing powder - green, purple and black
- Die cut sentiment, mine is Happy Birthday in Romanian :)
- Added a few glossy accents dots here and there, just for fun.


And this is it! Really hope you will enjoy it.


And .... of course there is more ... You have the possibility to win amazing prize if you enter our challenge! Read more below ->


Enter your project and win a $15 gift certificate to use it on a shopping spree Lavinia Worldand a challenge badge :) 

How can you do this? Sooo easy:
- In your project - use any type of rubber or clear stamps, using Lavinia stamps is not a must but there are more advantages - using them your chances of winning are doubled
- Digi stamps are not allowed :(
- THE THEME IS ALWAYS "ANYTHING GOES"
-It is a bi-weekly challenge starting on every other Thursday

If you need inspiration and not only make sure you follow us on:


Wednesday, June 19, 2019

Congratulation card - Scrapy Land #116 Challenge

Hello my lovelies!

There it is, the beginning of the #116 challenge over at Scrapy Land :)


I was thinking of making something for a new born baby. And because I purchased the beautiful cutting dies from Yvonne Creations - Welcome Baby - Little Elephants, I just gave it a try. The two elephants from the set are just ADORABLEEEE!


Supplies for my card:
- card base - white card stock - 300gms 10.5x14.5 cm
- pattern paper
- 2 sizes circle cutting dies, you can use any type of circle
- bored puncher for the margin
- white card stock for the banner
- die cut sentiment
- one goggly eye


It is a very quick and easy card to make!
And you can play with different colors and materials!

For the Scrapy Land challenges the theme is always ANYTHING GOES. 
All you have to do is to use for your project at least one brand of die that you can shop over at Scrapy Land.  
For each challenge there are TWO WINNERS.  
One will be a random winner and the other is chosen by the Design Team.  Each winner will receive a generous $10 gift certificate to Scrapy Land.


Please link back to this Scrapy Land Challenge and include the link to this challenge on your blog post.  It would also be extremely helpful if you would list the brands of dies used in your project.  

We cannot wait to see what you create! 

Until next time, stay safe and take care :)

Saturday, June 15, 2019

Happy Birthday - PolkaDot Orchard DT project

Howdy, my friends
It is has been a pretty hectic weather and life for me :))
Hot weather and heavy rains, lots of projects to finish, new projects just around the corner.

But, for you today I have a pretty card I made using Polkadot Orchard  digi stamps.


For today's card I used the fancy kettle from the Swirly Bird Pumkin set and the lemon with a flower from the Endless Potential set.


Supplies for this card:
- 10.5 x 14.5 cm white card stock of 300 gms
- a 10x14 cm Bristol smooth paper panel on which I played Distress Oxide inks - Peacock Feathers and Mild lavender. Over the distress background I added some shades using a stencil I made from a cutting die from Tonic Kit #21
- the digi stamps  are printed and colored with Deco Craft pencils
- the sentiment stamped on a white card piece of paper cut with a rectangular cutting die - the sentiment means HAPPY BIRTHDAY in Romanian :)
- as final touches I added some sparkly gems and glossy accents


Really hope you will enjoy it and until next time, stay safe, take care and be creative!
Huggies all


P.S. Make sure you check out Jessica's digi sets, they are amazing!

Thursday, June 6, 2019

Lavinia World Challenge - DT project


Oh my!
Do you know that feeling that you have when you know it's Christmas time and you just want to wrap out the presents and see what you got? Well it is exactly how I feel. I have been waiting for a whole month to get my first batch of stamps from Lavinia World Challenge. Unfortunately I was not able to provide a project for #1 Challenge but from now on I am on board! Yuhuuuuuu!


Stamps from Lavinia are just AMAZINGGGG! and I am such a blessed person to be part of an exquisitely creative team. All the ladies, my DT mates are sooooo talented and creative, that it is sometime overwhelming, but this is something that motivates me and makes me become better and better :)
But enough with the chit chat :) I am proudly presenting you my first project which is my piece of inspiration for #2 Challenge over at Lavinia World Challenge.

For this card I used the Fairy Wish stamp

Recipe for the card:
- 10.5 x 14.5 cm white card stock - card base, 300gms
- 10 x 11 cm Bristol smooth paper panel on which I played with Distress Oxide inks: Blueprint Sketch/ Picked Raspberry/ Scattered Straw
- After it dried I splashed it with some Perfect Pearls and a bit of water
- I heat embossed the fairy with purple embossing powder
- Added the white frame and a die cut sentiment.


And this is it! Really hope you will enjoy it.


And .... of course there is more ... You have the possibility to win amazing prize if you enter our challenge! Read more below ->


Enter your project and win a $15 gift certificate to use it on a shopping spree Lavinia Worldand a challenge badge :) 

How can you do this? Sooo easy:
- In your project - use any type of rubber or clear stamps, using Lavinia stamps is not a must but there are more advantages - using them your chances of winning are doubled
- Digi stamps are not allowed :(
- THE THEME IS ALWAYS "ANYTHING GOES"
-It is a bi-weekly challenge starting on every other Thursday

If you need inspiration and not only make sure you follow us on:


Wednesday, June 5, 2019

Swing Card - Koala bear #115 Scrapy Land Challenge


Hello my lovelies!
I decided to make a swing card for #115 challenge over at Scrapy Land :)
I saw it on youtube and just fell in love with it :) Here is the inspiration video - https://www.youtube.com/watch?v=Cn808VCHdLI. It is such a fun card to make and also to give to someone dear. And there are soooo many possibilities to combine elements for this. 

Supplies for my card:
- the I love you (eucalyptus) stamp set - which is unavailable for the moment, but you can use any other stamp set with lovely critters - http://www.scrapyland.com/search.asp?keyword=lawn+fawn&search=
- card base - white card stock - 300gms 10.5x14.5 cm
- pattern paper
- washi tape
- die cut sentiment
- glossy accents
- the koala bear and the leaves are colored with Promarkers 

You can see the whole process clicking on the link I left above

It is not very hard to make and it is sooo much fun

This is my final result
Hope you will enjoy it


For the Scrapy Land challenges the theme is always ANYTHING GOES. 
All you have to do is to use for your project at least one brand of die that you can shop over at Scrapy Land.  
For each challenge there are TWO WINNERS.  
One will be a random winner and the other is chosen by the Design Team.  Each winner will receive a generous $10 gift certificate to Scrapy Land.


Please link back to this Scrapy Land Challenge and include the link to this challenge on your blog post.  It would also be extremely helpful if you would list the brands of dies used in your project.  

We cannot wait to see what you create! 

Until next time, stay safe and take care :)


Passport to Summer Blog Hop - Taylormadecards4u DT project


So ... June already? Ohhh my, time does go by.
But, let's see the full half and be positive. If it is June, then holidays and sunny days are coming! yeyyy.

I am always excited and ready for a new adventure. Sometimes I prefer travelling inside Romania, sometimes, when we have the possibility, we go abroad. After leaving in Norway for two years, I realised that  there is no place like home. And still, there is one other place that has a special part in my heart ... England, and London especially. 

But, I have another surprise for you. This project is also part of a blog hop and there are chances for you to win a KIT as the one I used for my project! Exciting right? - check out the info at the end of the post :)


All you have to do is to leave a comment to this post. I will choose a winner on 12th of June :) So, feel free to leave me a comment and also check out my very talented DT colleagues. I will leave their links at the end of this post. There is also another giveaway on Monica's blog, so make sure to pay her a visit and explore her wonderful site :)


I am using the Passport to London Kit . Ever since I started being a DT member for Taylormadecards4u I have wanted to make a little junk journal with Monica's amazing kits. But every time some other idea came to my mind and I was always making something else. But for this one, I definitely had to make a junk journal. The elements in this kit are perfect for such a project.


I decided to cut different elements from one of the ephemera to decorate the front of the journal. I also used some small stamps, some lace and plastic washi tape to decorate the borders of the pages.


- small pockets and tags are perfect to add photos or messages 


- using some other bits of materials I made plenty of places to be filled with all sorts of things, like tickets, postcards etc.


- the images and the ephemera in the kit are amazing, they just complete the whole concept.


- made a small notebook o which I stamped the London Bridge :)


- aren' these just lovely? Pictures from different voyages will go just great in here :)


- I had a plane shaped brad


- some pieces from an old curtain made the perfect cover for a pocket


I really hope you enjoyed my project !


GIVEAWAY PRIZE!!!! LEAVE ME A COMMENT AND YOU HAVE A CHANCE TO WIN THIS !!!

besides the London kit, there is the Passport to New York and Passport to Paris.


And there is a special offer buy 2 kits and you will get 1 FREE  - use the PPKPROMO

These are the links for all the projects, make sure you check them out :) You will not be sorry