Sunday, May 26, 2019

Flower Card - Goha Digi DT project

Hello, hello
with a little delay, I have my project for this month as a DT for Goha Digi stamps.


For my project today I used this beautiful digi stamp - Flower Fairy 

Supplies:
  - card stock 300gms white
  - smaller panel on which I played with a stencil and some Distress Oxide
  - frame die cut
  - printed and colored the stamp, I colored the fairy using Polychromos pencils
  - glued all together and added 3 paper roses 
  - some glossy accents here and there and ta da!

This is the final result!


Make sure you check out the various and beautiful digi stamps from the Gallery!
You will definitely find something for your projects :)


Friday, May 24, 2019

Lemonade card - PolkaDot Orchard

Howdy my lovelies,

For you today I have another project as a DT for PolkaDot Orchard.
Slowly but surely, summer is right at the corner and hot days are soon to come, and what better to treat yourself, than a cold ice lemonade? For today I used the beautiful digi set Endless Potential


The card I made today is very simple to be made :)

Supplies - 300 g white cardstck
               - Distress Oxide inks
               - Watercolor paper
               - Endless Potential digi set
               - Twine
               - Colored pencils
               - Glossy accents


On the front of the card I made a pocket from watercolor paper on which I played with Distress oxide.
I added 3 lemon slice from the digi set, colored with Deco Craft colored pencils.


Inside the pocket, I put the white tag on which I glued the lemonade glass with the ice cubes on which I added glossy accents for some more effect :)
Seeing this, I really am in the mood of some fresh lemonade :)


Hopefully you like this and make sure you check out Jessica's shop for some great new digi stamps.

Until next time, stay safe, take care and be creative :)


Sunday, May 19, 2019

It's your day! - PolkaDot Orchard DT project

Good afternoon,
It is such an amazing day outside! Unbelievably warm after a rainy period of 2 weeks. :)
Being inspired by the lovely weather outside, I made this card using PolkaDot Orchard digi stamp It's Your Day

Quick recipe:
1. Cut a 10x5 x 14.5 card base out of 300gms white card stock
2. Cut a smaller panel from watercolour paper on which I played with Distress Oxide inks 
3. With a stencil and Nuvo Glitter Paste I added some 3D effect
4. Printed and coloured the beautiful flower from the set. I coloured them using coloured pencils from Deco Craft. Added some white gel pen dots and lines here and there and some Glossy Accents.
5. Added the sentiment and there it is!


It is a proper card for a lot of occasions :)
So, make sure to check out Jessica's shop  and also stay tuned for some amazing new digis :)

Until next time, stay safe and take care!

PS. Don't forget: BE CREATIVE AND POSITIVE!
huggies all


Wednesday, May 15, 2019

Gone Fishing - Male card vest shaped - Taylormadecards4u


Hello my lovelies,
it is already 15th of May!!! but the weather outside is pretty cold :(((
Anyway, fishing is OK in any season right? And when you can combine it with a masculine card, then you have the perfect recipe! :)
As always, Monica from Taylormadecards4u, provided this month an amazing Kit suitable for all sorts of masculine projects.

The kit is called GONE FISHING and it is a MUST for all vintage lovers and not only!


My hubby is an amateur fisherman and he loves going fishing whenever he has some free time (not much lately) :) I found inspiration while looking at his 'fishing stash'. I decided to go with the vest-shaped card. 


I cut all the papers and the ephemera from the kit and then started to assemble the vest. The base is made out of 300gms white stock on which I added the pattern paper from the kit.

The front side has a moving closing panel which block with the help of the anchor charm. I also added 2 blue buttons on the top side of the vest.


Inside I made 2 faux-pockets for small tags or small pieces of paper for messages :)
The beautiful ephemera are the perfect finishing touch for the inside of the vest.


The bigger inside panel also has a big pocket in which I inserted 2 ATC's made from the beautiful ephemera from the kit. The details on the paper are just GORGEOUS! It just makes you take your rod and go fishing.


The backside of the vest has another pocket in which messages or small photos can be added.


This kit has so many detailed pics and ephemera that give you such a positive vibe. Monica is always designing beautiful kits and images and I am sure you will have a pleasant journey if you check her site :)


Owl Thank you card - #114 Scrapy Land Challenge

Hello everyone!
It is already the middle of May ... But how the time flies by! :) 
For the #114 Scrapy Land Challenge I decided to make a slider card using stamps and dies  purchased from Scrapy Land shop

Steps:
1. Cut the card base - 300gms white card stock 10.x5 x 14.5 cm

2. Cut a panel from white Bristol paper - 10x14 cm

3. Using Versamark Ink I stamped the small leaves from the stamp set - Lawn Fawn - So Owlsome Stamps
4. White heat embossed them and then made the blended 
background using Distress Oxide inks

5. Cut the circular slider using 2 circle dies of different shapes

6. Added the tree which is from the Elizabeth Craft designs - Country scapes Woods 1 die set.

7. Stamped with Archival Ink the 2 owls and colored them with colored pencils. Cut them using the coordinating dies

8. Assembled the mechanism and added some glossy accents.

9. The sentiment is divided in 2 parts: one which is white heat embossed on a leaf from a Tonic set, but you can use any other type of leave you have and the part that is at the bottom is also white heat embossed on a piece of black card stock.

And this is it!


Products

Lawn Fawn - So Owlsome StampsLawn Fawn - So Owlsome DiesElizabeth Craft Designs - Dies - CountryScapes - The Woods 1

For the Scrapy Land challenges the theme is always ANYTHING GOES. 
All you have to do is to use for your project at least one brand of die that you can shop over at Scrapy Land.  
For each challenge there are TWO WINNERS.  
One will be a random winner and the other is chosen by the Design Team.  Each winner will receive a generous $10 gift certificate to Scrapy Land.


Please link back to this Scrapy Land Challenge and include the link to this challenge on your blog post.  It would also be extremely helpful if you would list the brands of dies used in your project.  

We cannot wait to see what you create! 

Until next time, stay safe and take care :)


Thursday, May 9, 2019

Carpe Diem - Coffee Card


Howdy all,
I have another project for the Spring/Summer Coffee Blog Hop.

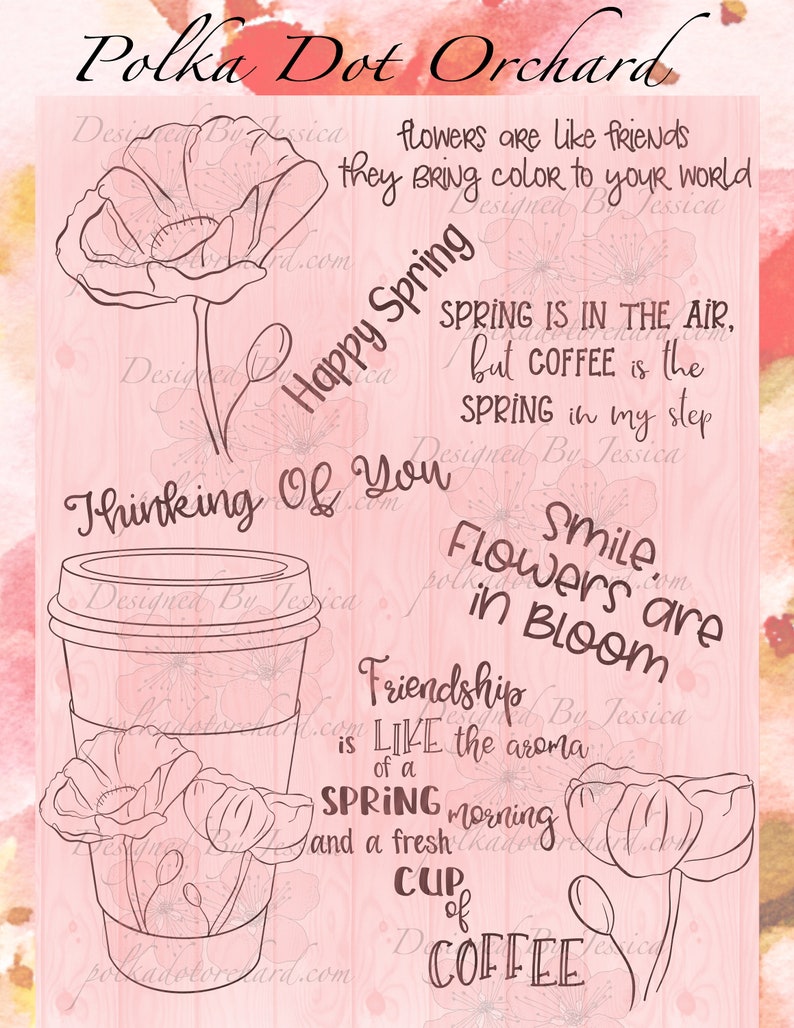
I used a gorgeous digi stamp set from PolkaDot Orchard.

List of supplies:
- watercolor for the background panel
- Zig markers: yellow and brown
- coffee beans stencil
- sequins
- the coffee cup digi stamp colored with Polychromos
- glossy accents and Carpe Diem die cut

And this is the final result!

Until next time, stay safe, take care and be creative!


                                                            Flowers in Bloom - digi set
image 0

Monday, May 6, 2019

Coffee bag handmade package - taylormadecards4u - Coffee lovers Blog Hop


Happy Monday everyone :)

I am not drinking coffee anymore but I still love the smell of fresh coffee in the morning :)
Today's project is a recycled paper bag which I turned into a coffee bag package.

This project also enters the Coffee Lover's Spring/Summer Hop

My project is made using wonderful supplies from  Taylormadecards4u
I used the set with coffee tags and labels. If you check out Monica's shop you will definitely find something you need for your projects. She has amazing digital images and not only. It is like a vintage ephemera heaven :)

So, my project today:
1. Took a paper bag for presents. It is a brown colour one so it makes it perfect for the altering process.
2. Took some tissue paper from my stash, wrapped it in small pieces and then just glued them randomly to cover the front of the bag.
3. Using a coffee bean stencil and brown structure paste I added some beans here and there.


4. Added some washi tape stripes for some color effect :)
5. Using the tag set i made two bigger tags using lace, thread, buttons and Ditsress Ink - Vintage Photo - to distress the edges.
6. Using a border puncher I punched the lower edges of the bigger labels from the set.


7. Punched two holes on the upper side of the bag and added some rope to close the bag. For a more coffeeish effect I added the small spoon charm :)

Hope you will enjoy it, leave me a comment and make sure you check the links I left in this post. :)
Until next time, take care, stay safe and be creative :)


No photo description available.

Sunday, May 5, 2019

Painting rabbit - Angie's Digital Stamps

It is the first Sunday of the month and this means a new challenge over at Angie's Digital Stamps :)

This month the theme is Anything Goes with No Twist, so feel free to use your imagination and enter your project :)

Steps in creating my card:

1. Cut the card base out of white card stock of 300gs/sqm.

2. Cut a purple base panel out of 220 g light purple card stock - from my stash

3. Cut a watercolor paper panel and played with different shades of watercolors.

4. Let it dry and then used some stamps from my stash to add the pallet and the splashes - I used Archival Black Ink

5. Printed and coloured the rabbit. I used Polychromos pencils. I added some patterns on his clothes :)

6. Glued the coloured rabbit on a piece f white card stock which I cut using a rectangular die cut.

7. Added the die cut sentiment 

8. Final touches - glossy accents

And this is it!

MAke sure you check out Angie's blog and her digi stamps gallery. Also, you can enter a project and have the chance of winning great prizes.

Until next time, stay safe and take care and be creative!


Saturday, May 4, 2019

Vintage Coffee card - Taylormade cards - Coffee Loving Blog Hop

Howdy friends,

I have another project for you that I am entering into the Coffee Lovers Blog Hop.

My project for today is a complex card, it can be a card but also a mini album :) Lately i have been really finding this type of cards pretty appealing for my creative style.
My project today is made with supplies from Taylormadecards4u. In the shop section you can find plenty of goodies for your project, Monica is a master of vintage ephemera and kits, just perfect for any occasion.

For this card, I used the 

     Vintage Coffee Advertisement Trade Cards.


It is such a versatile set, you can use it from making tags up to junk journals and not only. :)


Dimensions: 15 x 15 cm and the card base is from 300gs/sqm white cardstock.
I added some a piece of pattern paper from Kraft card stock with little black hearts on it.
I distressed a piece of paper doily and glued it on the base panel.


From a yellow piece of cardstock, I designed a small pocket on which I played with a coffee beans stencil and some Nuvo Mousse. The bigger pocket has an open band on which I inserted 2 small tags.
The small little tag album is made with ephemera from the set. They are tied with a brad.


I used the ephemera from the set to design the front panel. The two girls are just adorable and they are perfect for such a card. Added some paper flowers and some creamy thread, 3 sequins and there it is. 

Make sure you check out the store, there are amazing products and some of them are on sale.
You can also check out the blog hop for amaziinnggg projects :)

Feel free to leave me a comment whether you like my card, or not :)

Until next time, stay safe and take care!

Friday, May 3, 2019

You are Tea-rrific - Poplkadot Orchard coffee blog hop

Howdy friends,

For you today I have a Tea-related card which I made using beautiful stamps from PolkaDot Orchard.
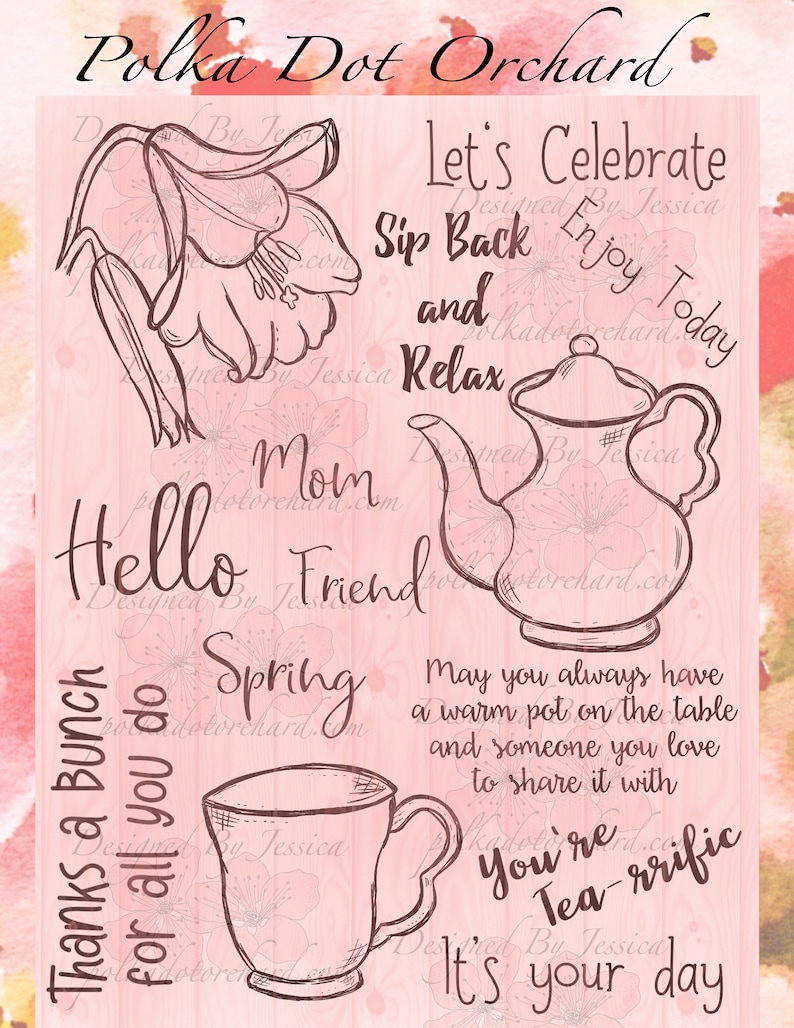
I used the It.s Your Day Digi Set.

I enter my project in the Spring/Summer Coffee Lover's Blog Hop. Make sure you check it out!

Tea is my favourite brew since I quit drinking coffee. I love all flavours and combinations and having a cup of tea and crafting is always a great moment of the day.


My card for today is a shaker one.

Steps :

1. Cut a 15 x 15 cm card base from white card stock of 300g/sqm

2. Cut the base panel from 220g white card stock at 14x14 cm. 

3. Using white embossing technique I randomly white embossed tea bags all over the panel.

4. Using Distress Oxide I coloured the panel in order to give it the impression of tea stained paper.

5. Printed and coloured the digi stamps, the teapot and the cup. Colouring was made with Polychromos pencils.

6. Using a shaker die I cut the shape on the base panel. Using small beads and sequins, I made the shaker part and assembled it as if the teapot is pouring the tea in the small cup.

7. Added the lace die cut from golden mirror card stock just like a table cloth and also a small plate under the tea cup.

8. Made a frame for the base panel from the same golden mirror card stock.

9. Added the sentiment from the digi set and some final touches using glossy accents and Nuvo drops.


And this is the final result. 
Hope you will enjoy it!

I am linking my projet to the Spring/Summer Coffee Blog Hop on Coffee Loving Cardmakers


image 0
- Digi Stamps I used for my project

Wednesday, May 1, 2019

I've fallen for you - Heartcraft Paper DT project

Hello my lovely friends!


Even if it is a rainy and chilly day outside, my card for Heartcraft Paper May 1st brings plenty of colour and flowers :)
As you are already used, the beginning of the month is the beginning of a new challenge over at Heartcraft Paper.
I decided to work with the lovely I've fallen for You digi stamp.

It is quite a simple card but I think it is perfect for a wedding celebration or marriage anniversary.

Steps in creating the card:

1. Cut the card base of 10.5 x 14.5 cm - 300g/sqm white card stock

2. Cut a pattern paper panel of 10 x 14 cm - I have been having this paper for a very very long time and now I thought that it is perfect for my card

3. Printed and coloured the leaves using Promarkers alcohol markers

4. Made a frame using thick glossy white card stock and when I assembled I decided to add a vellum panel on the back. I think it gives a very cute effect, it is like a wedding painting :)

5. As final touches, I added 3 heart-shaped gem stones, some glossy accents and the sentiment.


Feel free to check out Monica's shop where you will find these cuties and many many more!
Until next time, satay safe, take care and be creative!
Huggies all!


Frame pansy Happy birthday card - A Perfect Time to Craft Challenge


Hello my friends,
It is May - my fav month :) because it is my birthday ... yeyyy
Anyway, today is the beginning of a new challenge over at A perfect Time to Craft 


This is always an Open Challenge and always "Anything Goes”. You're welcome to add
3 entries per challenge and you may enter any crafting project with any theme.
For full details on our rules and on how to enter, please visit our rules page.

Our prizes consist of…

1st Prize: 3 sponsor images, a certificate and a badge.

2nd Prize: 1 sponsor image, a certificate and a badge.

3rd Prize:1 sponsor image, a certificate and a badge.

DT Favourites: a certificate and a badge.

Spotlight Winners: a certificate and a badge.
Our sponsor for this month's challenge is Craftsuprint


For my project, I am using 

         Pansy Get Well Soon Special 8in Tag N' Envelope Kit


I decided to make a larger card which can also be a mini album. The kit provides very beautiful patterns and elements, you just need to print them put and start playing.

 The front panel is like a mini shadow box, I layered three pattern papers and added some stamped butterflies.

In the middle I placed a tag on which I added pansies made with die cuts. :) 

The inside has plenty of space for messages and pictures. 
I decorated the corners using stamps I have in my stash :)

These kits are very versatile and you can play along with them, as much as you want!

So, go ahead, check them out and get creative.
Do not forget to enter your project to our challenge. There are beautiful prizes awaiting!

Until next time, stay safe and take care!